🎯 Why Run a Mock Auction?
A mock auction is a great way to:
-
Train staff, board members, or volunteers
-
Test bidder experience from registration to payment
-
Explore ClickBid’s bidding features in a live setting—without processing real credit card transactions
💡 Tip: Mock auctions are perfect for board meetings, committee previews, or dry runs before the big event.
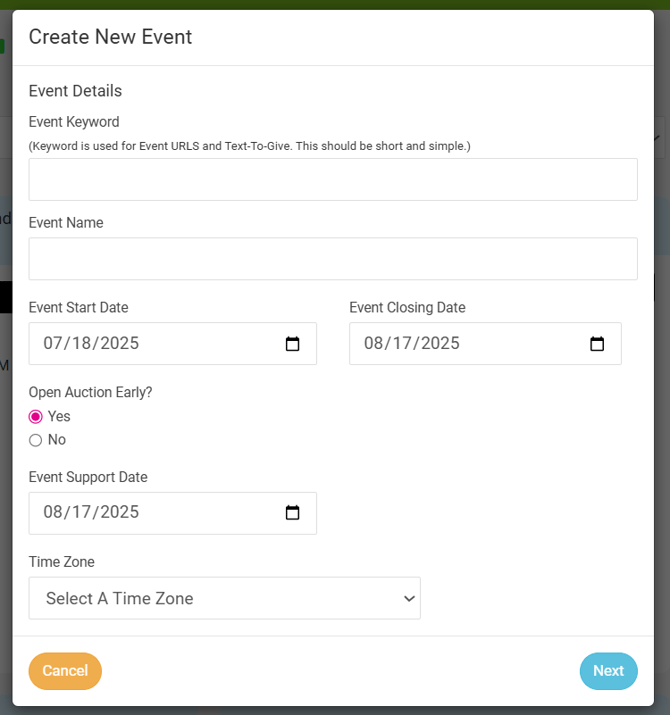
🛠️ Step 1: Create the Mock Event
-
Go to Organization → Events
-
Click the + Add Event button (blue)

Enter details for your mock auction:
-
Event Name
-
Start/End Dates
-
Keyword (this creates your link URL)
-
Save your event
📌 Info: You’ll need the right user permissions to add a new event.
🎁 Step 2: Prepare Sample Items
-
Go to Items → Manage Items
-
You’ll see sample/test items automatically created for you
-
To quickly configure them:
-
Select all items

-
Scroll down and click Batch Update
-
Choose:
-
Closing Time (recommend 15–30 minutes from now for testing)
-
Status: Set to Active
-
-
Click Update Items
-

💡 Tip: A short bidding window helps you see outbid and winner notifications in real time during your session.
🏠 Step 3: Share the Auction Link
-
Return to your Home Page
-
Find the Important Link section with your event keyword
-
Copy the auction URL
-
Share it with your board, committee, or test users

🧑💻 Step 4: Experience Bidding as a Participant
-
Click the Auction button in the top menu

-
Click on any item’s Place Bid button

-
You’ll be prompted to:
-
Enter your email and mobile number
-
Receive and enter a one-time login code
-


-
Place a bid:
-
Choose the next available amount
-
Or place a Max Bid to let the system auto-bid on your behalf
-

📌 Info: You’ll receive text notifications when outbid, with a direct link to rebid.
💡 Tip: Encourage your team to test out:
-
Bidding on multiple items
-
Competing with each other
-
Donating if donation items are active
🏆 Step 5: Simulate Payment & Checkout
When your test items close:
-
Winning bidders will receive a text message with a link to complete payment
⚠️ Note: If this is a true mock event, a merchant account is not required. Credit card transactions will not be processed unless a merchant account is active.
To simulate checkout:
-
Go to Event Central → Event Payments
-
Find the winning bidder(s)
-
Click the blue Checkout button
-
Choose a payment type:
-
Check
-
Cash
-
Other
-
-
Submit the transaction
-
The system will send a receipt via email to the bidder


💡 Tip: For test events, we recommend selecting cash or check to avoid unnecessary credit card fees or refund scenarios.
🧪 Final Thoughts
Running a mock auction helps everyone get comfortable with:
-
Registration and bidding flows
-
Outbid and winner notifications
-
The checkout and payment process
It’s the best way to ensure your live event runs smoothly—for your team and your guests.