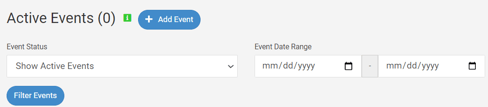
1) From the Organization page, click on the Events tab.
You will need organization permissions to create a new event.

2) Click on the blue +Add Event button.
3) Fill out the information on the popup to create your new event, click Next.

Event Details
- Create or Reuse Keyword?
- You have the option to begin a new event with a new keyword, or use an existing keyword from a deactivated event.
- Event Name
- The corresponding event name for your new fundraiser.
- Event Dates
 Add a starting and closing date for your new event. These dates can be adjusted after the fact and are not set in stone.
 - Your support date will automatically be set for the end date of your auction. If this needs to be adjusted, please reach out to your account manager to make the change.
- Time Zone
- Add the corresponding time zone your event is taking place. This is to guarantee the starting and closing times are correct.
4) Fill out the Event Administrator Information on the next popup, and click next.
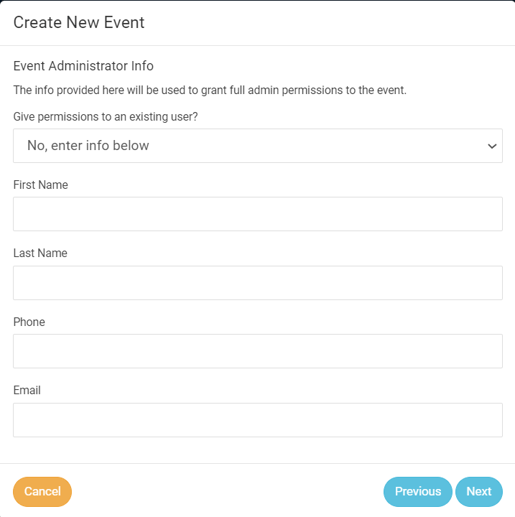
- This section allows you to add an event administrator to your new event. This person will be in charge of the event and will need full permission.
- You can either create a new user or add an existing user to this new event.
5) Confirm which content/information you would to save/delete on this new event.
- You have 2 options here, create a new event with default data, or data from a previous deactivated event.
- If you choose to carry over data from a deactivated event, you have a few options on which data you would like to copy over. EX: Bidders, Items and Item Donors, Landing Page Settings, Merchant Account, Custom CSS.
Landing Page Settings/Information will copy over as is. Meaning if you have any previously attached links or shortcodes (for ticket pages, youtube videos, and appeal displays), those links will be brought over to the new event. You may need to update the correct URL/shortcode once the new event is fully created.

.png?width=651&height=92&name=unnamed%20(3).png)
When carrying over ticket pages, you do have the option to move the sales over to the new event. This will remove the ticket sales from the selected event and cannot be undone.
6) Confirm the details
A confirmation popup will appear, allowing you to preview or finalize the information for your new event. Once you have finalized the information, click the blue Save Event button.

Once you save the event, you will be brought to the users page to set up your users per event. You will want to add yourself to the specific event you just created. Doing so, will allow you to see the event from the events tab. If you do not complete this step, you will not be able to view this event from the events tab.
7) If you purchased the Full Suite license through ClickBid, you also receive a Dedicated Customer Advisor for the event of your choice. To add the Dedicated Advisor to the correct event, use the three dots located in the top right corner of the event you just created and select "Add Dedicated Advisor".

The pop-up message will read:
-png.png)