This Article is broken down into:
- Adding A New User
- User Permissions and Admin Roles
- Remove A User
- User Profile Set-Up Process
The keyword log in will no longer be usable. If you attempt to log in with the keyword, you will be redirected to set up a user profile.
ADD A NEW USER
Set up Users in your admin to assign different capabilities and restrictions to each unique user assigned to your organization or event.
To create a new user, go to the Organization page > Users

- Click Create New User. A popup will appear for you to enter the first name, last name, and email address of the new user.
- Click Create User. A popup lets you know an email has been sent to the email address entered.
- The new user will set up their password and log in to your admin using their email and the new password they created.
SET NEW USER PERMISSIONS OR ADMINS
Admin Permissions: Designed to give roles to certain members of your team that can have full access to all events or specific events in the admin.
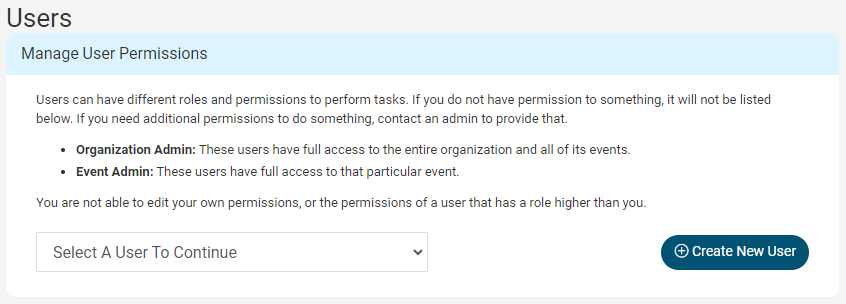
Users do not have the ability to edit their own permissions. Someone with a role equal or higher to you will have to make the change.
Organization Admins -
- Have access to the Organization page and each current or future event created in the admin.
- Able to create and delete other Organization or Event Admins with permissions less than or equal to theirs.
- Organization Admin permissions also include:
- Viewing recurring donors, updating Account and Users tabs, creating, deleting, and deactivating events, and making payments (license renewal and upgrades).
- If the Organization Admin needs to be changed, the current Organization Admin may do so under Organization > Users > Organization Roles.
Screenshot of Organization admin and permissions:
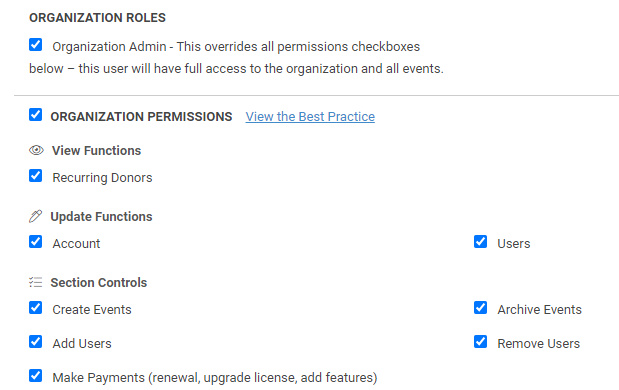
You can be assigned Organization Permissions without being an Organization Admin. This simply means you have access to certain events within the admin, along with the permission settings listed above.
Event Admins -
- Needs to be created by an Organization Admin.
- Have full access to all permissions within their assigned event, regardless of which individual permissions are checked or unchecked.
- Can create other Event Admins and assign them permissions up to or equal to the permissions they have access to. For example, an Event Admin can give another Event Admin permissions to a specific event, but not to the organization.
Screenshot of Event Admin and permissions - (There are many other permission settings below Training).
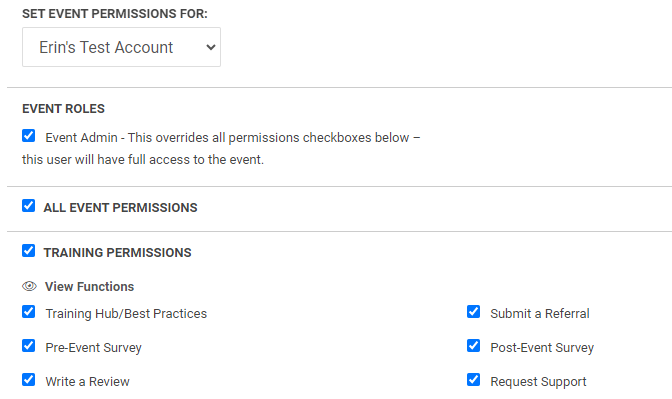
You can be assigned All Event Permissions without being an Event Admin. This simply means you have access to certain events within the admin, along with the permission settings selected for you.
Non-Admin Users -
- Need to be created by an existing user, Organization Admin, or Event Admin.
- Can have permissions set to certain areas of the admin to streamline who is responsible for working on what. i.e. items, bidders, ticket page, landing page, etc.
- Does not have the ability to create an Organization Admin or an Event Admin.
The default settings when first creating a new user are only the training permissions. You will have to manually select all the permissions you want the user to have. Users will not have access to admin settings that are not selected.
All the permissions for users are as follows: Training Permissions, Dashboard Permissions, Software Settings Permissions, Bidder Permissions, Items Permissions, Event Ticket Permissions (if applicable), Event Central Permissions, Butler Permissions, Merchant Permissions, Reports Permissions, Donations/ Text-to-Give Permissions, and Recurring Donations Permissions.
Screenshot of User Permission Settings (Non-Admin User)

NOTE: All users will have a Software Settings tab for the Profile tab and Logout button. The profile tab can be used to update contact information and passwords.
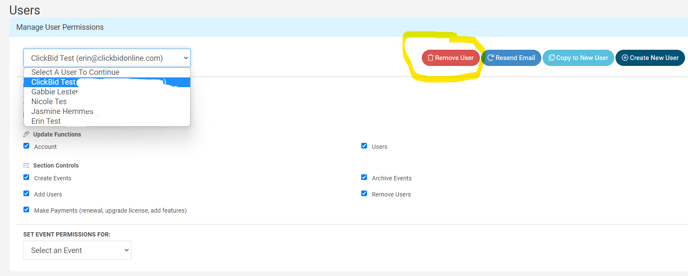
REMOVE A USER
To remove a user, go to Organization > Users, select the desired user, and click Remove User.
USER PROFILE SET-UP PROCESS
- Once the user has been created from the admin, the email on file will receive an email to set up their account. The user will use the login link to verify their account, create a password, and log in to the admin.
Screenshot of initial password setup email sent to New Users

- Click the top underlined link to finish setting up your account, it will bring you to a browser to create a password.
Screenshot when creating a User Password

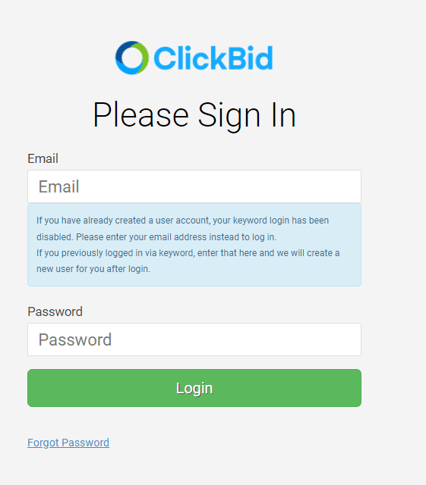
Log Into The Admin
- Go to cbo.io/admin.
- Enter the email address used and the password you created when setting up your user profile.
UPDATING USER ACCOUNT INFORMATION
- To update any account information for your user profile, go to the upper right hand corner of the admin and click on the icon then profile.
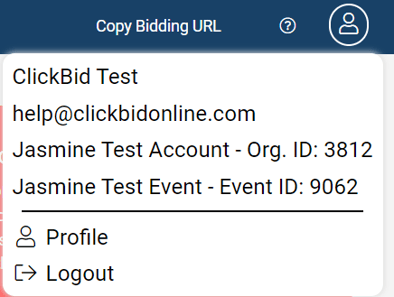
- This profile login area can be used to update passwords and contact information.
Screenshot of Profile Page

In the user profile, under Menu (top left corner near Profile), there is a link to bring you to the Organization’s Admin. Clicking this link will bring you to the admin already logged in to your user account.
Screenshot of link to admin on Profile Page
